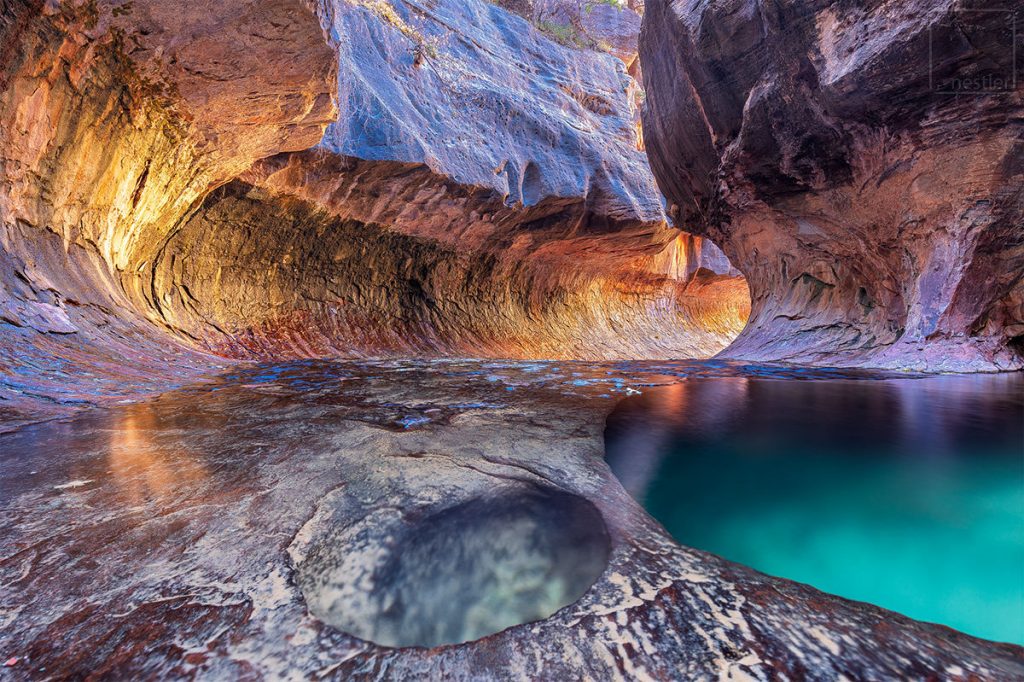
The Zion subway tunnel is one of the most famous hikes in all of Zion National Park…and for good reason. It’s a strenuous hike covering about 9 miles if you take the top down route (which is the fun way to do this hike). It does require rappelling and swimming some cold water (especially if you do this hike outside summer). Totally worth it 🙂
Free GPX Track of the Zion Subway Tunnel Hike
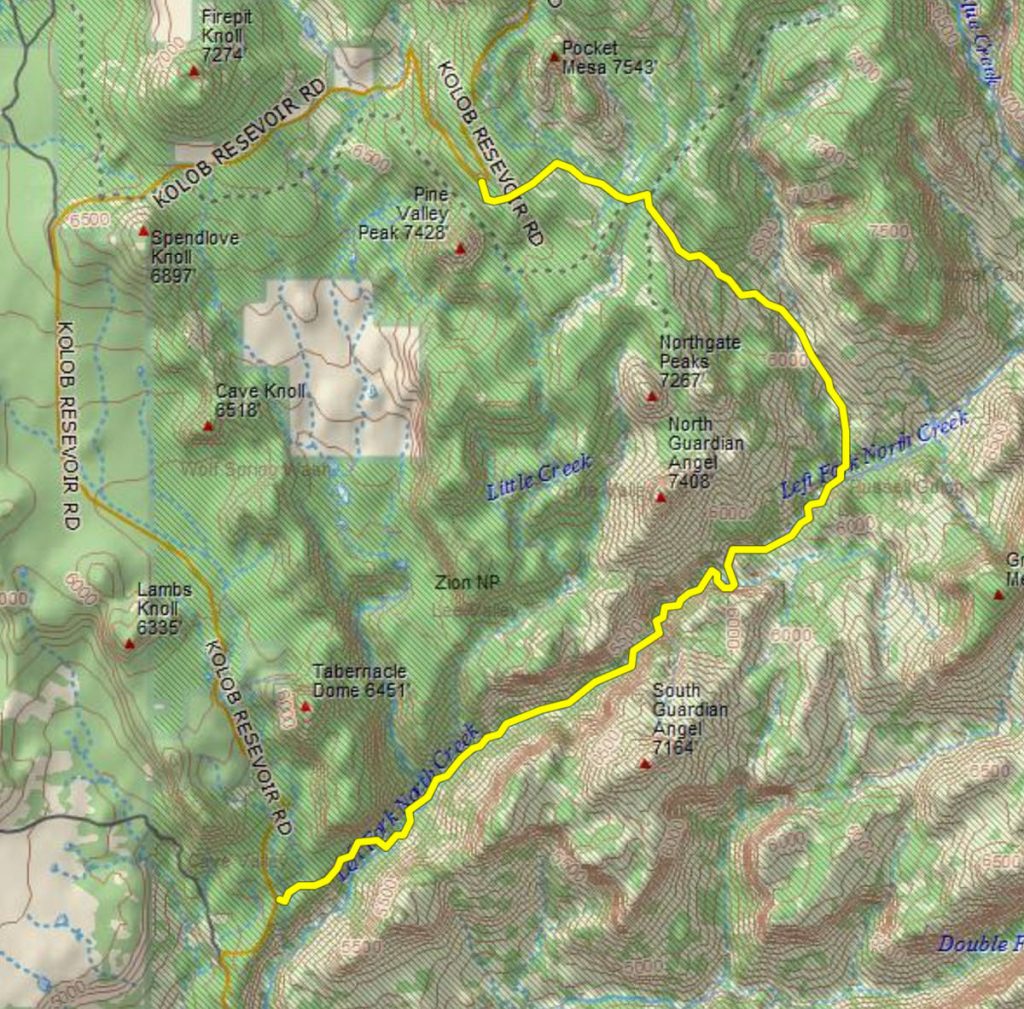
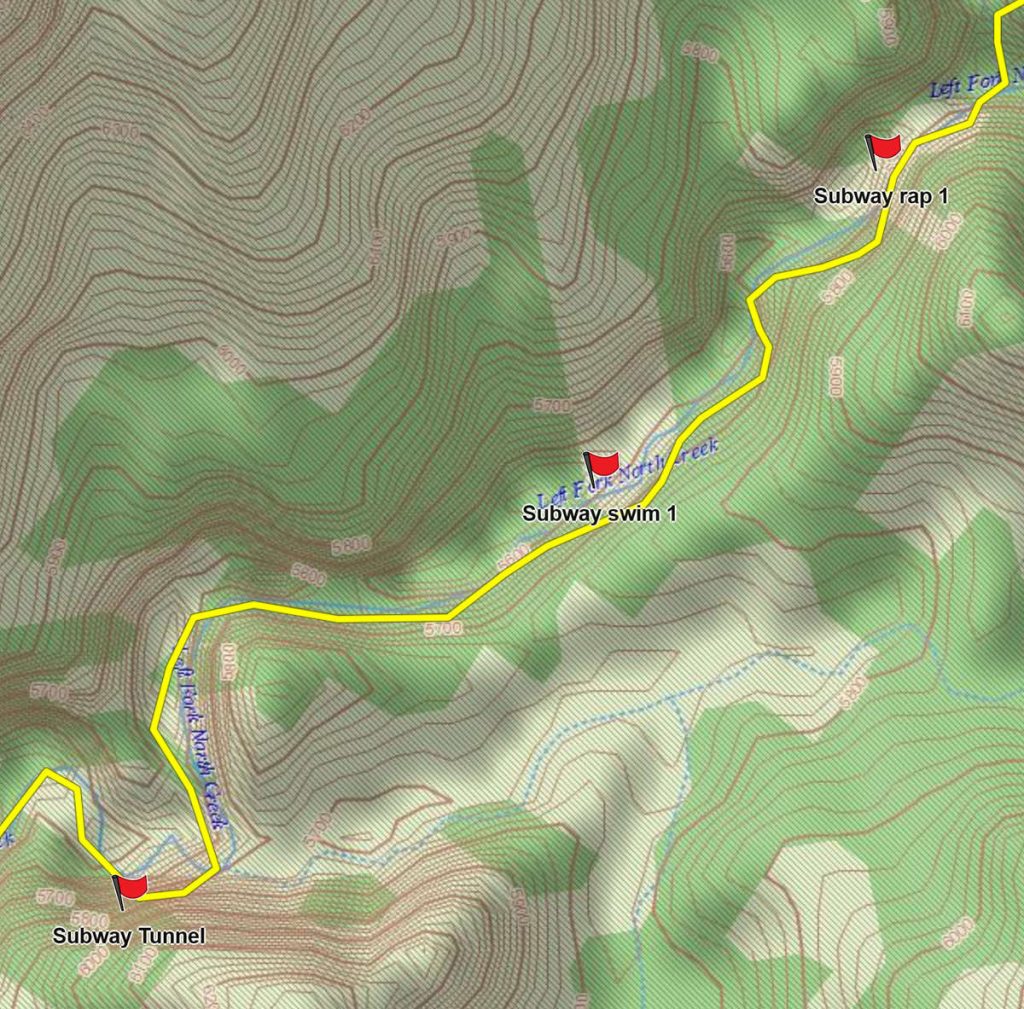
I hunted for a free GPX file to follow and couldn’t find one, so I’ve uploaded mine for you to use. My inreach didn’t track the upper part of the hike correctly, so I had to recreate it manually. I apologize if it’s off a little bit. There might be a more efficient route to get down, but the important part is that you’re going the right way 🙂 Download the file and load it into your GPS or some sort of GPS program (Gaia is a great option).
The Zion Subway Tunnel Hike
The hike begins at the Wildcat Canyon Trailhead (for the upper route) or the Left Fork Trailhead (for the lower route). Both tracks end at the Left Fork Trailhead. If you’re doing the upper route you will want to stage a vehicle at both ends since it’s a 7.4 mile walk uphill to get from the lower trailhead to the upper one. I attempted to ride a bike after dropping off my gear at the upper parking lot, I didn’t get far. Your best bet is to try and hitchhike (which is what I did after locking my bike to a tree). If there’s traffic along the road early in the morning, I would suggest bumming a ride while you still smell decent.
The initial trail is super easy to find. There are a couple turns you need to watch out for or you may end up going the wrong direction. One of the park rangers told me that numerous people end up on the wrong ridge and need to get rescued – don’t be like them.
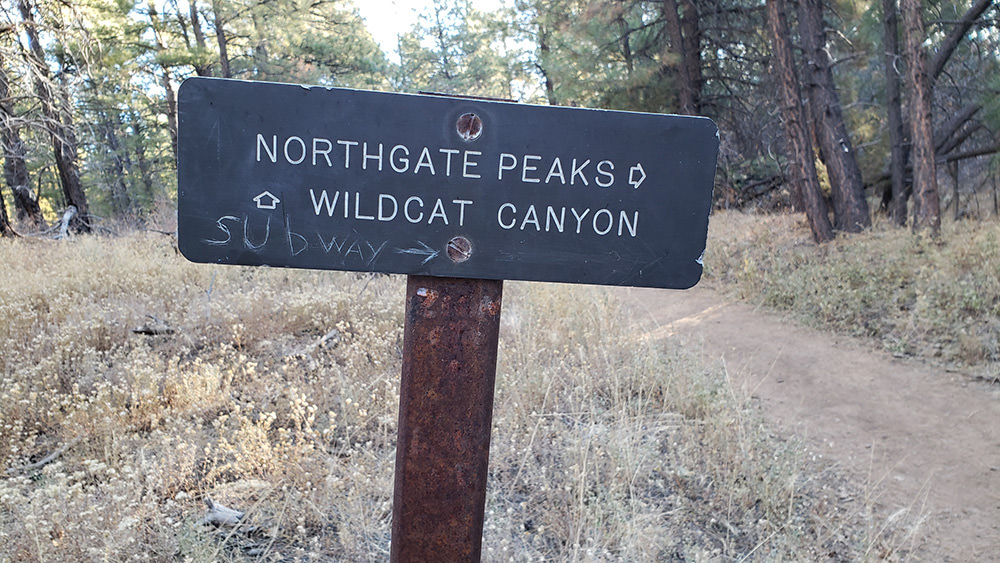
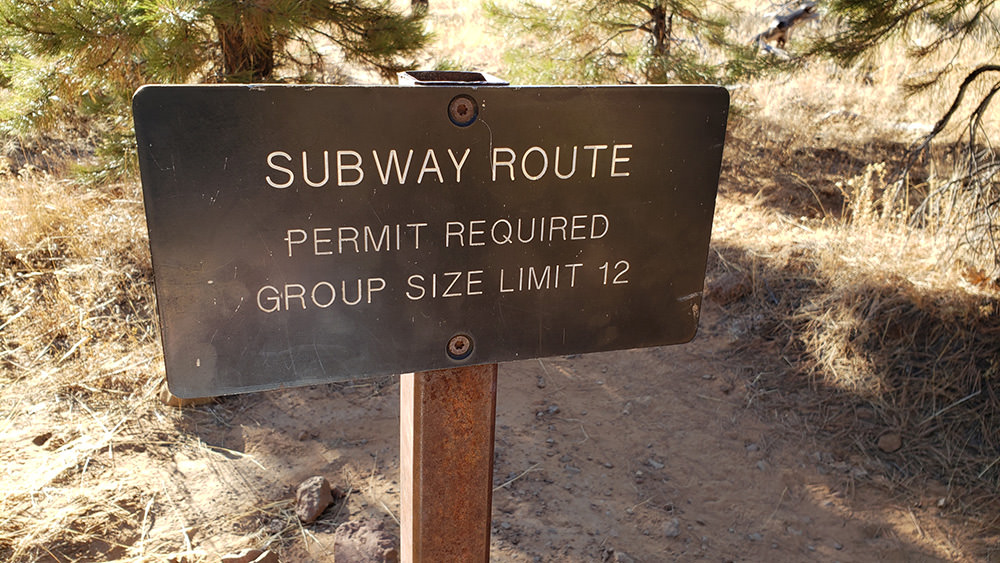
As soon as you pass the obvious Subway Route sign, you are most definitely in the wilderness.
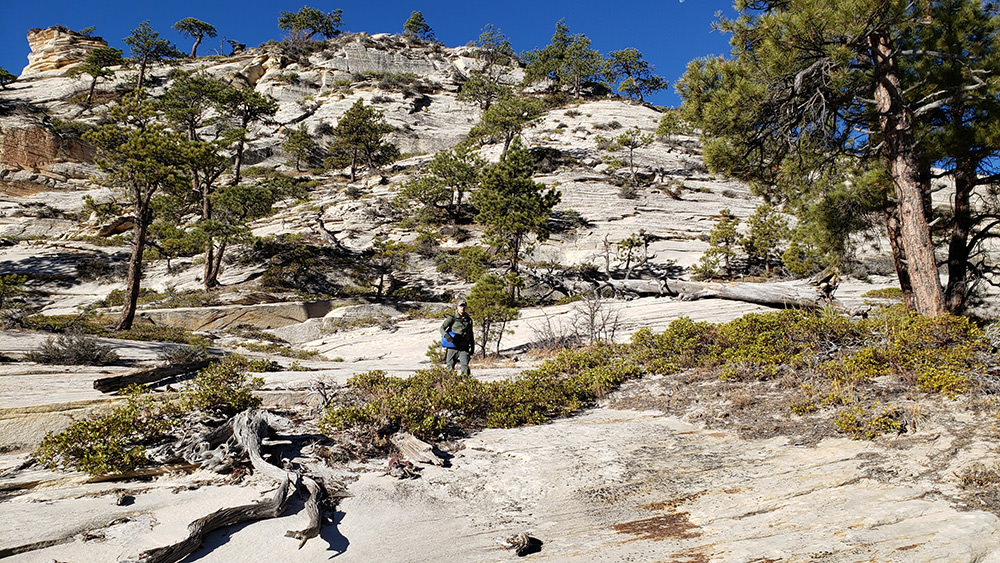
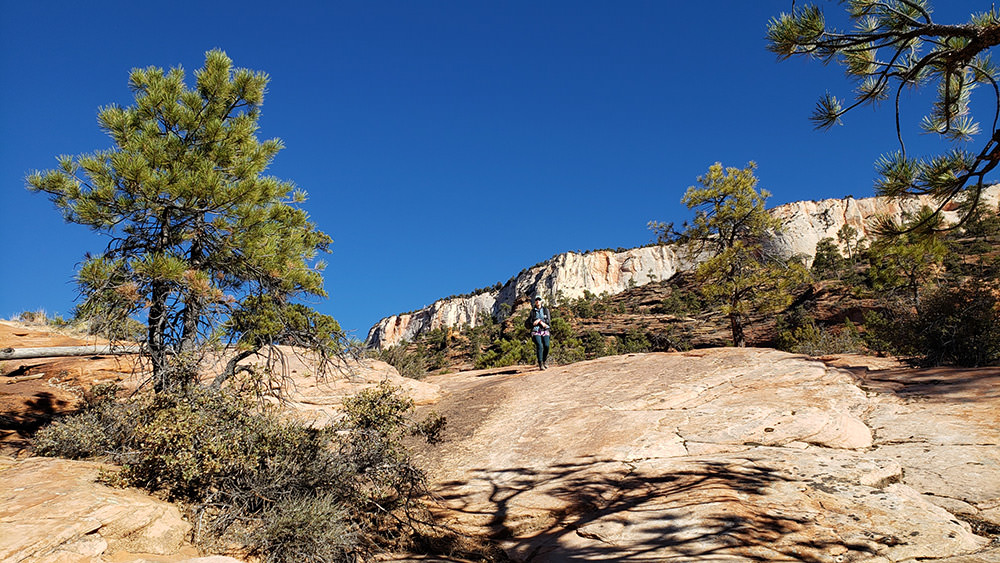
This is where having a GPS route is helpful. You are going to work your way down the rock and cross a couple gullies. It’s not the most difficult section of the hike, but there’s no obvious trail to follow so you kind of need to know where you’re going.
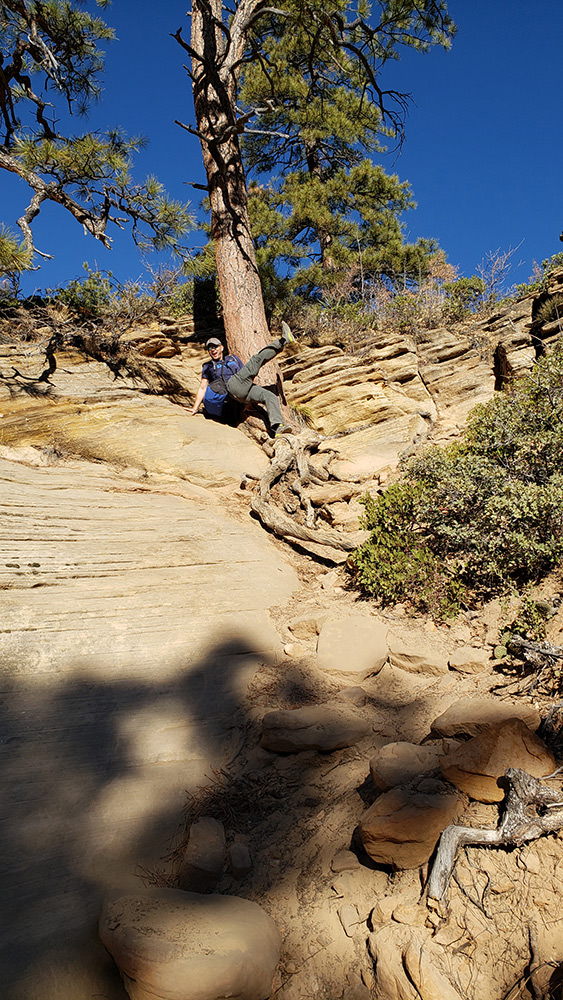
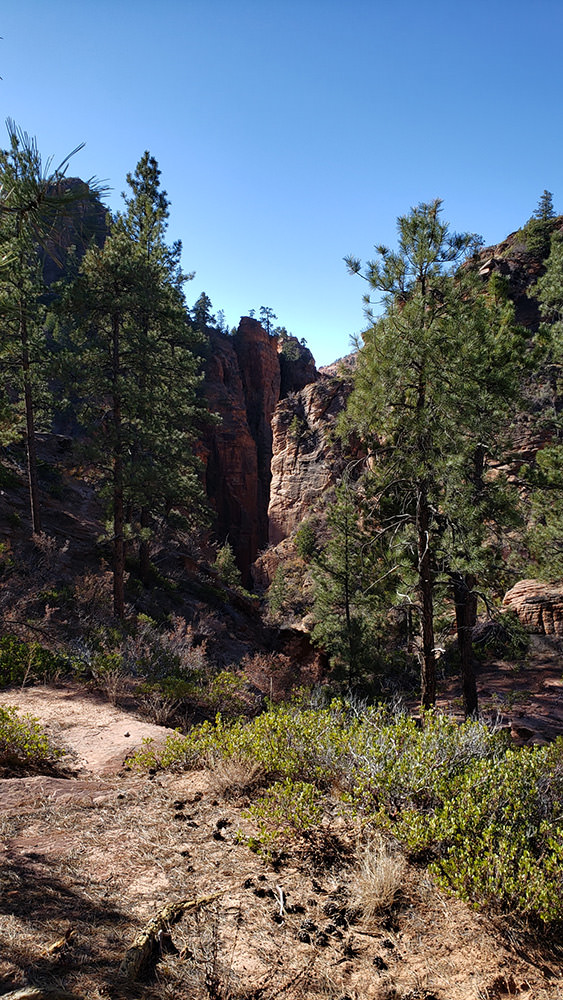
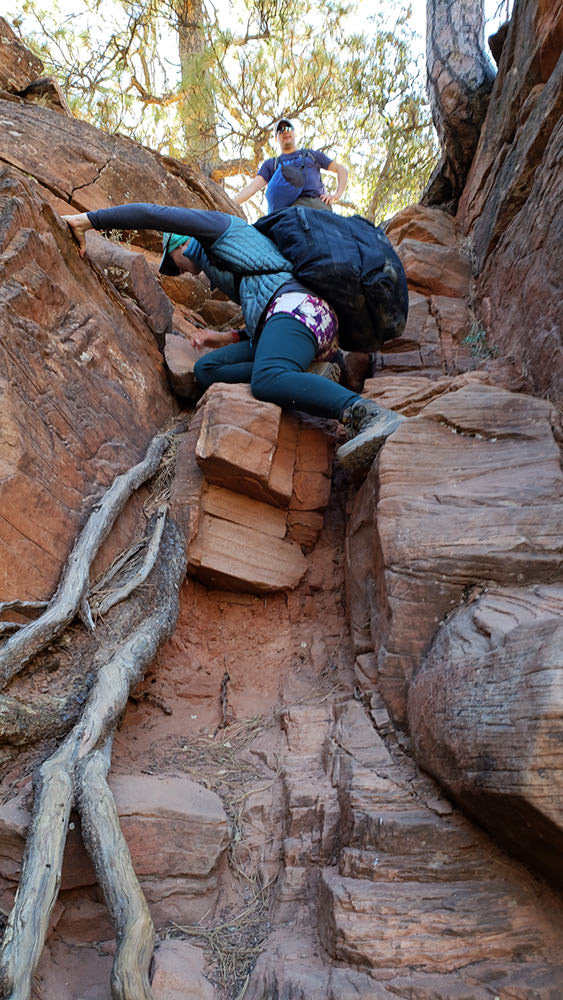
From the start of the hike to the beginning of the canyon should take about 2 hours or so. You will finally get an awesome view of the canyon from above before descending a rather steep section to get to the floor.
At the bottom of the canyon is where the fun begins. There was a pool of stagnant water at the base of steep section which we walked past without getting wet. I’m told that certain times of the year this can be chest deep. It hadn’t rained in 3 months when we did this hike. You will probably spend more time wet than we did.
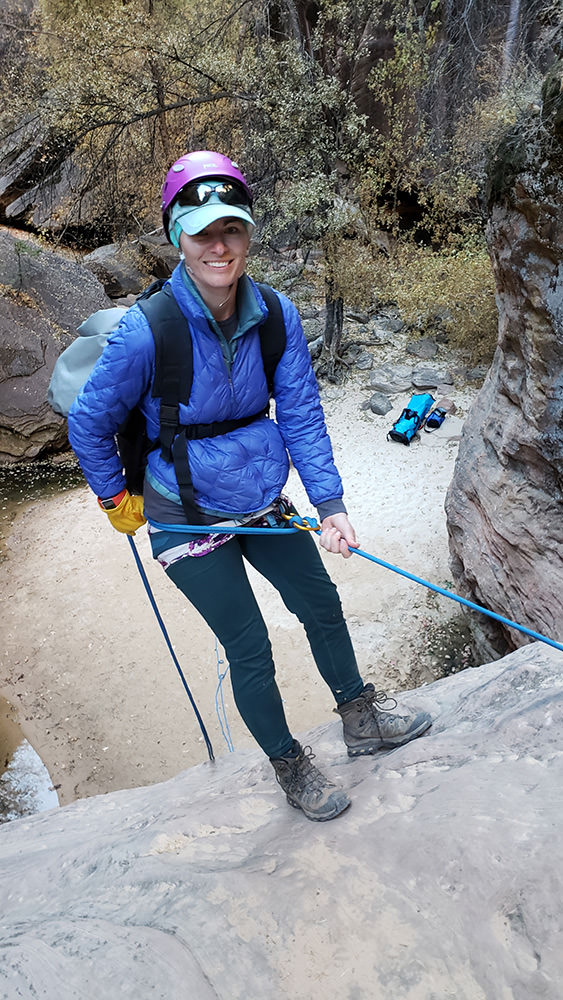
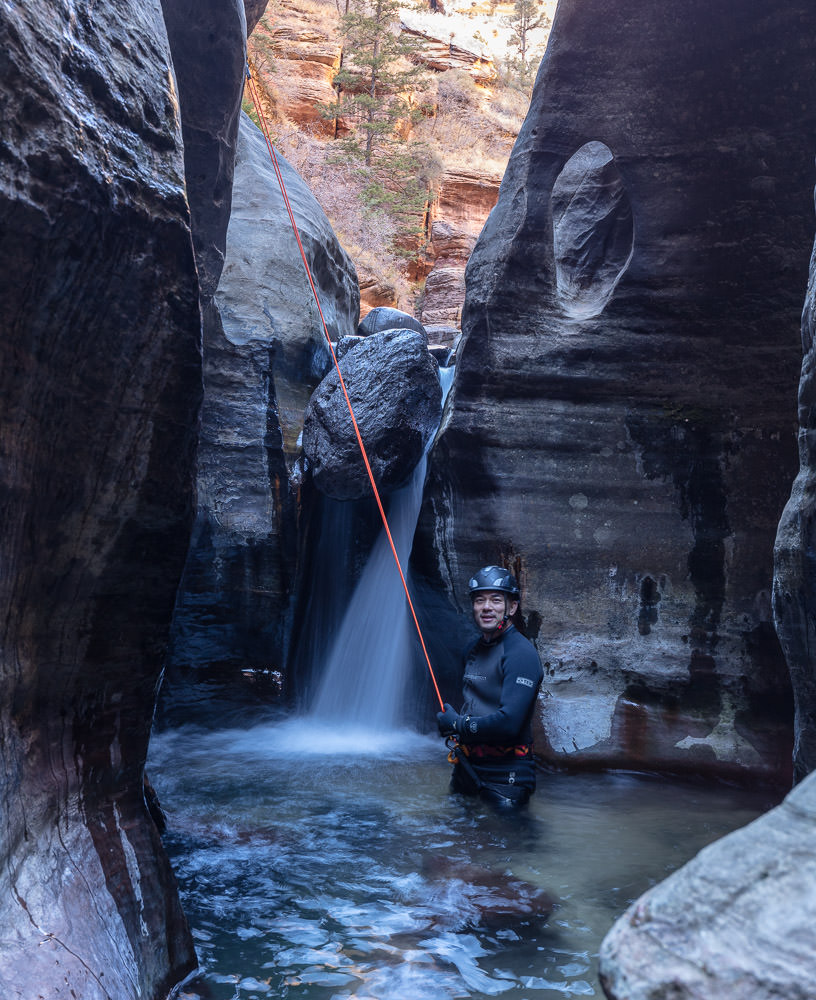
If you go left from this pool you will finally enter left fork! The scenery gets awesome at this point and the rest of the way down is epic. As you turn right, you will quickly come to the first rappelling section. There is a large boulder with a couple bolts that you can use to get down to the canyon floor. Alternatively, if you look to the other side of the canyon, you can crawl through a hole in the rock and make your way down that way…but you carried all this rappelling gear, so why would you do that?
Initially I thought maybe we could avoid swimming and just use a packraft instead…nope.
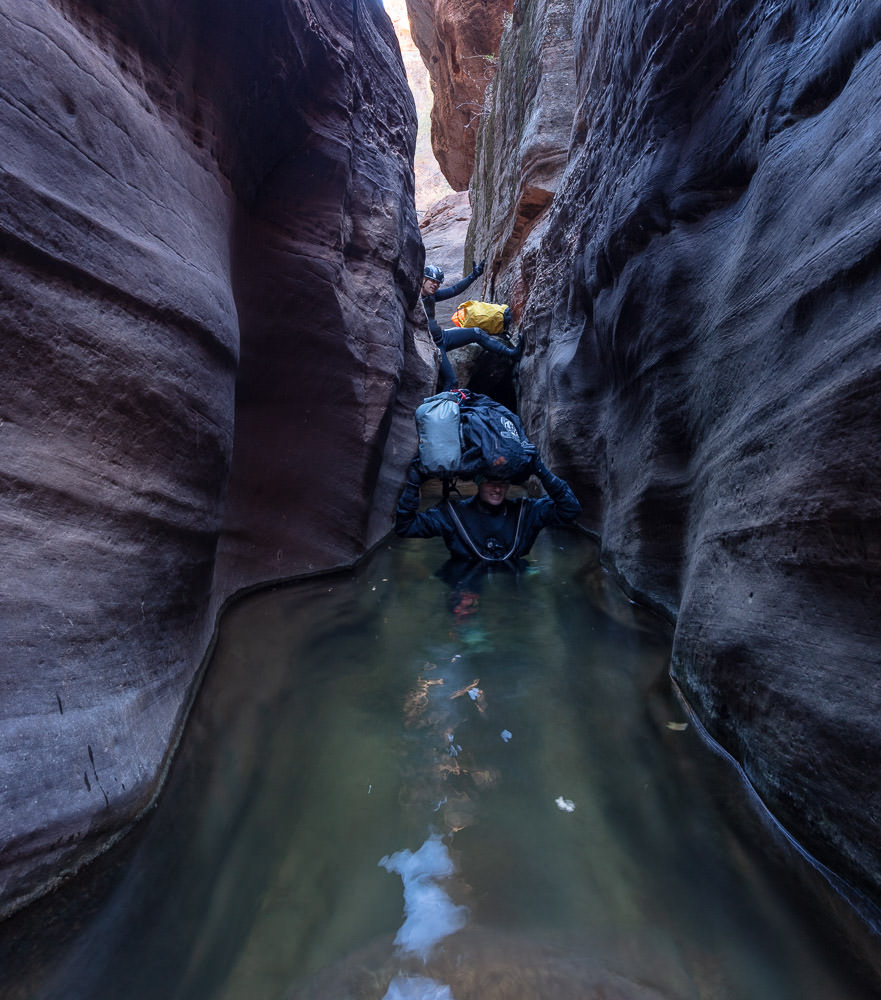
There’s a little bit of a hike where you can avoid the water before you come to the first mandatory swim. There’s no way around it, you will need to get into the water. Technically, you could packraft across the first 2-3 swimming sections, but later ones are just too tight. The water temperature was hovering just above freezing so a wetsuit or drysuit is necessary. The first couple of swims are in some potholes and they contain the coldest water you will experience on this hike.
For some reason I don’t have my wetsuit in the trailer so I decided to rent one instead of potentially ripping a hole in my scuba drysuit. We rented a couple 5 mm wetsuits from Aqua Sports and they were quite awesome to work with. There was no need to fib about our needs here, he guessed that we were getting into the canyon. Highly recommend them if you’re in the same boat we were in.
Alicia decided that she wasn’t going to get wet at all on this hike so she brought her drysuit. Since she would stay warmer than the wetsuit wearers, she was the designated water mule. Most of the gear was in drybags, but her drysuit came in a backpack that wasn’t completely waterproof. She had to sherpa it on her head through the water sections (or we had to throw it really far).
Some of the rappels on the Zion Subway Tunnel hike require that you land in waist or chest deep water.
It’s totally fun, but you could get really cold in a hurry if you’re not prepared for the cold water. The later water sections are spring fed so the water is a little warmer than the earlier potholes. Still not the warmest water in the world during the winter.
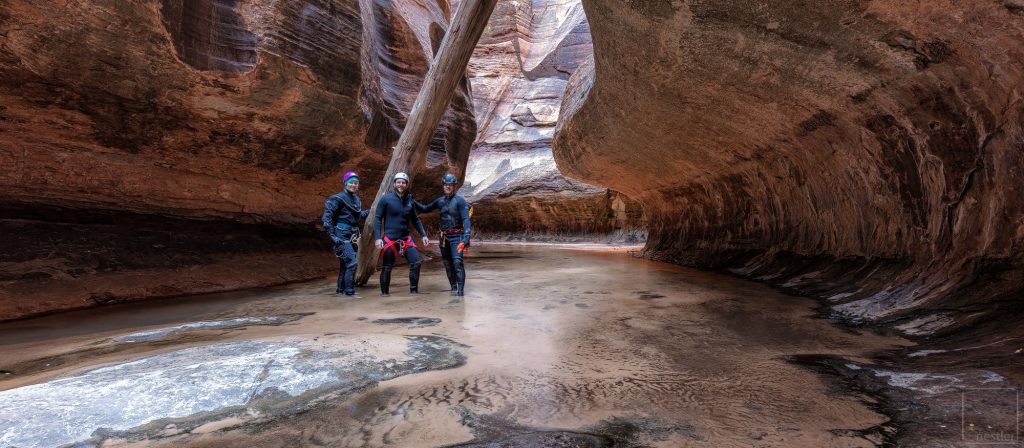
I mistakenly thought we had arrived when we got to this section with a giant log. It kind of looked like the subway tunnel, but after going around the corner and dropping down I found the real deal. If you do the lower route up from Left Forks trailhead, you don’t get to see this section.
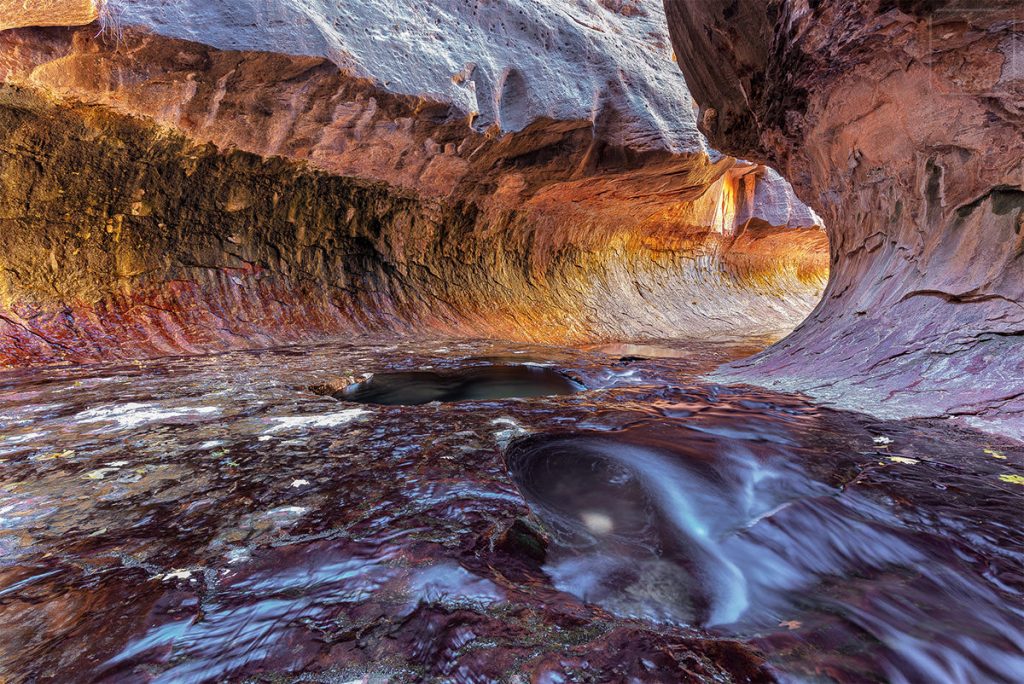
After the final rappel, you finally get to see the iconic view that you’ve been waiting for! Totally worth it!
At this point it would be nice to feel like you’re almost there…except you’re only about half way at this point. The rest of the hike is pretty, just not as pretty as the upper section. We started the hike around 7:30am and I wrapped up taking pictures here around 4pm. The problem during November is that the sun was going to set at 5:30ish and we had over 2 hours of hiking still to go.
I’d like to say that we merrily strolled the rest of the hike, but that would be a gross injustice to reality.
I got out of my wetsuit at the tunnel since I’m not a fan of wearing whale blubber if it’s not needed. There are sections on the way out that would be easier to just wade through shin deep water than what we did. I tried to stay out of the water as much as possible. You need to cross the stream at multiple points, but you can do so without getting wet. There are trails on both sides that you can decide which looks easier. My friend said that he had to run on any flat sections to keep up with me. I wanted to find the way out before it got dark.
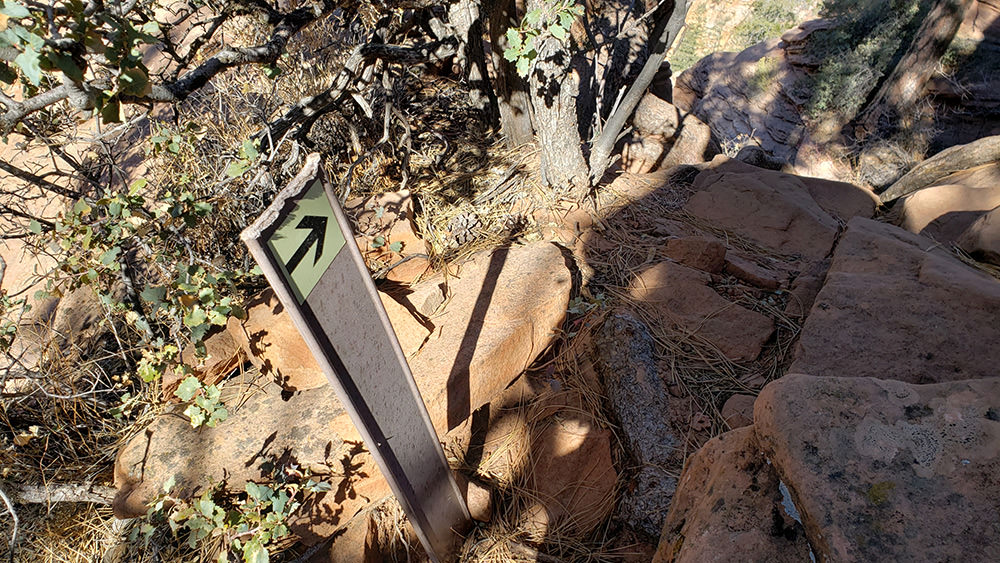
I had read many reviews online that it’s easy to miss the exit back up to the trailhead. Thankfully that wasn’t the case. I’m sure they’ve had enough people get lost down there that they eventually put up a sign. It’s not super big, but there is a sign that points where to start the climb out. The climb is a serious pain after all that hiking. Over 300 feet of elevation gain to get back on the ridge before getting to your car (assuming you left it here in the beginning). If you left your vehicle at the upper trailhead, you now smell and have to find some super saintly person to give you a ride the final 7.4 miles back to your car.
Leave a Reply