Olomana Trail (also known as the 3 peaks trail) is one of the most difficult (and rewarding) hikes on Oahu. This 2 mile (each way) out and back hike sounds simple enough due to it’s length. Don’t let that fool you into a sense of false ease. This is a demanding hike that can easily turn to disaster if you’re not prepared. On the flip side, it’s totally awesome and well worth it if you’re ready.
I already wrote about some stupid stuff I saw while doing this hike. Don’t Be like them. I don’t usually consume much water, but easily went through 2 liters. You should bring at least 3 liters per person (and dog). Below is a video of what the hike looks like as I returned from peak 3 to peak 2.
Free Olomana Trail GPX Track
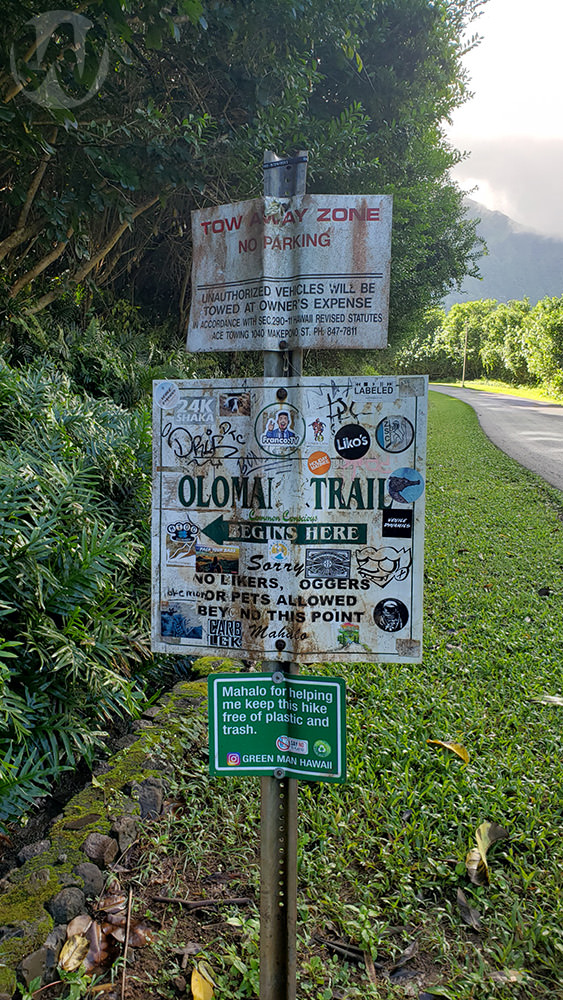
There is NO parking at the Olomana trailhead. You will need to park somewhere else and walk in. I’ve heard that they are quite aggressive at towing since it’s on a private road to a golf course. We rode the bus and it was a 3/4 mile walk on a paved road from the highway to the start of the hike. You will pass a guard booth and gate, even though it says no jogging, biking, etc. you are allowed to walk up to the trailhead.
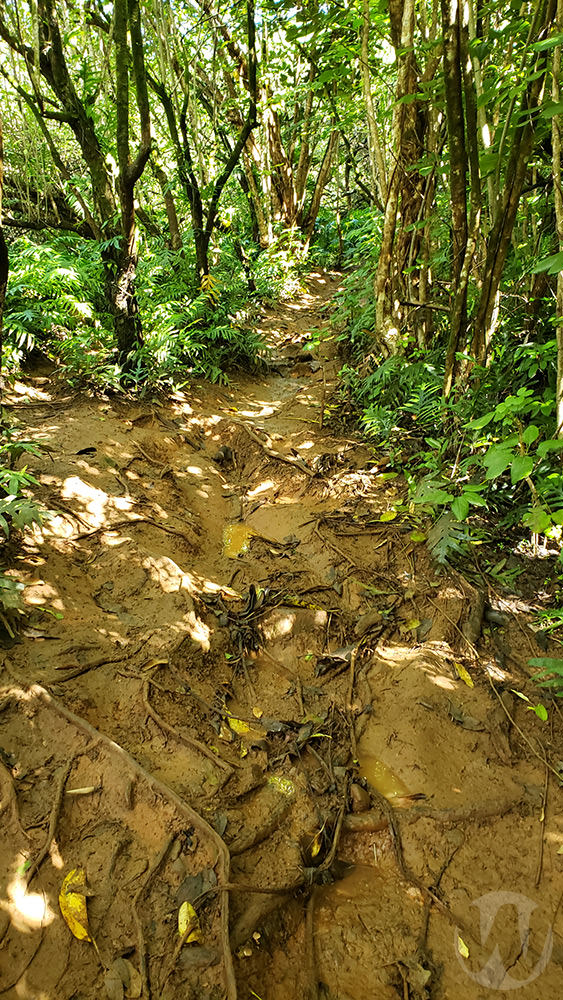
The start of the hike is VERY MUDDY. It was very slick and I had a difficult time keeping my feet planted with every step. The first 3/4 mile of the hike is like this. Suck it up and realize that you will get mud on your feet…and possibly your legs and clothes if you fall. My wife was wearing running shoes and she didn’t feel comfortable with the slipping and sliding. I would recommend hiking boots, but that’s up to you and your comfort level.
The Jungle
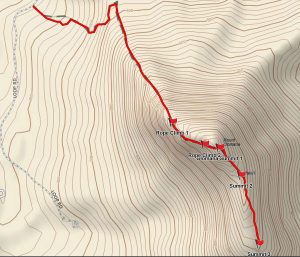
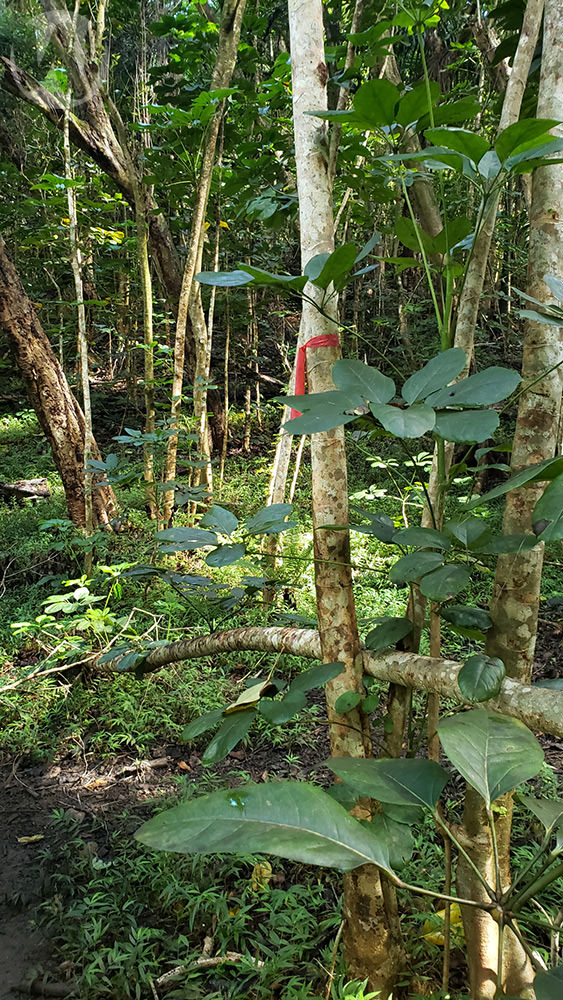
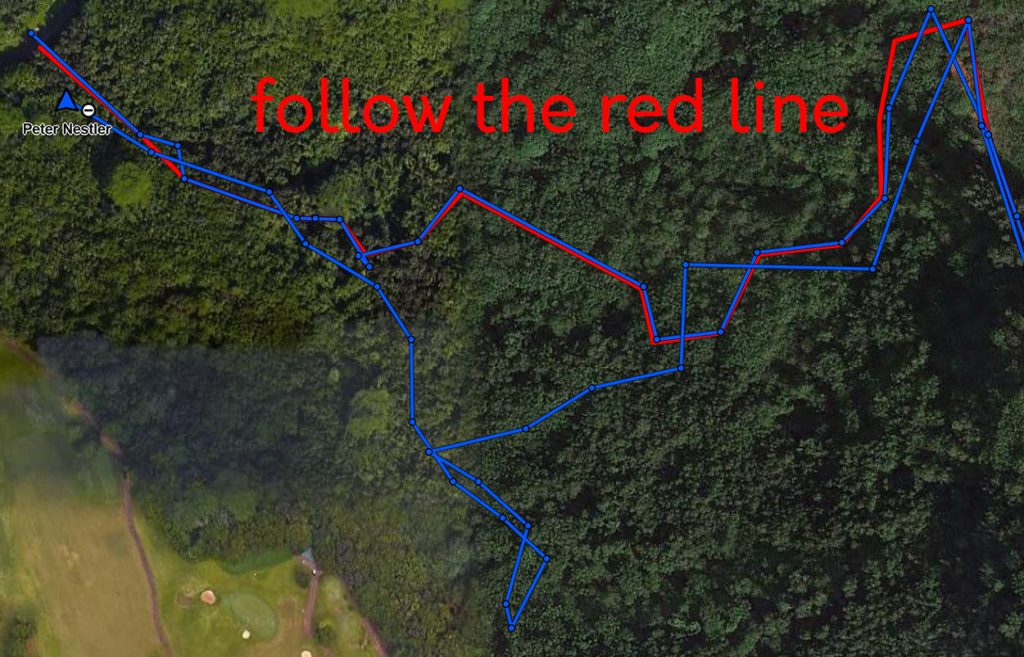
The first section is in the jungle and it’s easy to get lost. I ran into numerous people on the hike that told me they had got lost in the jungle for over 30 minutes trying to find the trail. There are numerous flags on trees that you can follow. However, I found that once I reached the flagged tree below, that if you turned left and followed the track, you would come onto the main trail and it was super easy to follow. As you can see from my actual track of the hike, I followed the pink flags on the way down and wandered around a bit before finally getting back to where I was supposed to be. Follow the red track 🙂
Olomana Trail has plenty of rope climbing
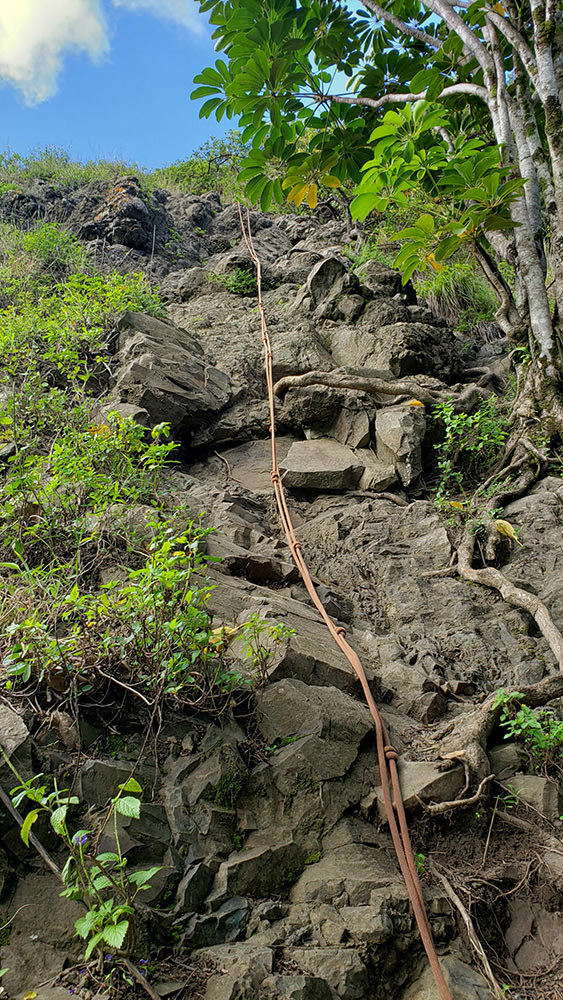
After a lot of uphill walking that will have you sweating through your clothes, you come to the first rope. Most of the ropes on the first climb are just there as aids. It would be very doable without them, if it wasn’t for the mud. The slickness of the trail is a challenge, but in the rope sections it can be dangerous if you slip. Use them as needed, but eventually you will see a straight up climb. There are 3 ropes coming down the rocks and multiple routes you could take. I found that starting on the left and working diagonally up to the right was the easiest. Unless you’re a very comfortable rock climber, use the ropes. Not worth a fall here.
You will come across another climbing section that is equally as challenging before reaching the first summit. This is an awesome spot to stop and have a break. The view is amazing and this is the highest point of the Olomana Trail hike.
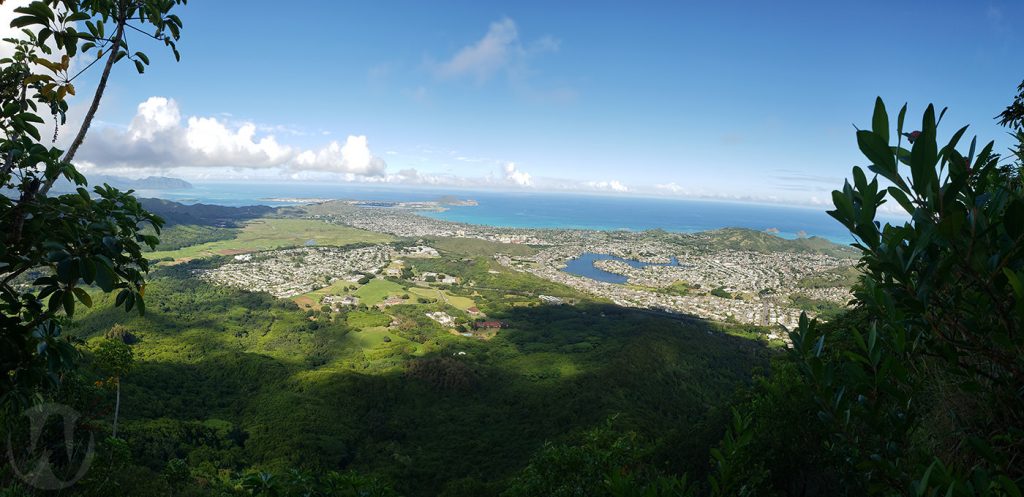
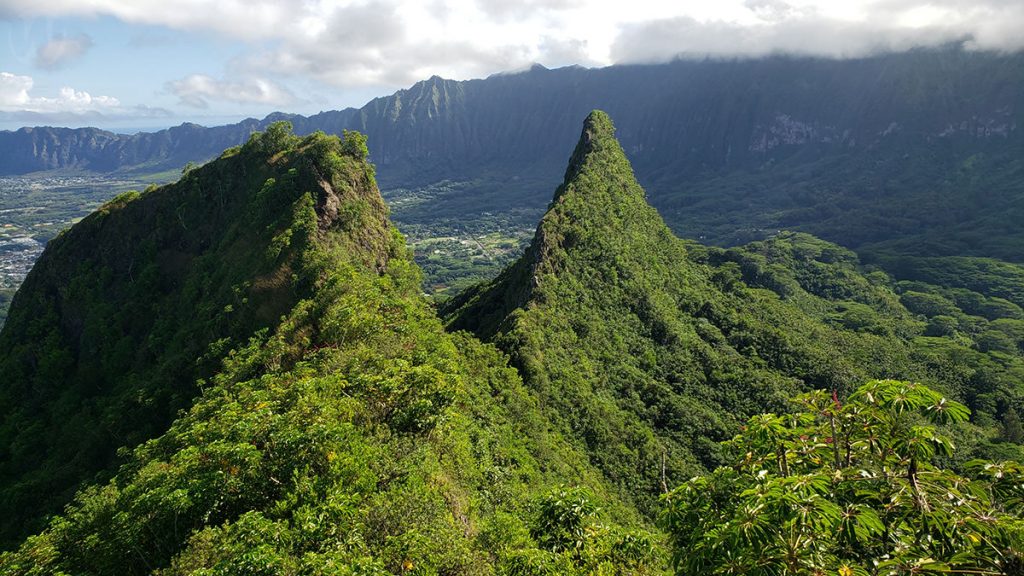
Hiking to Peaks 2 and 3
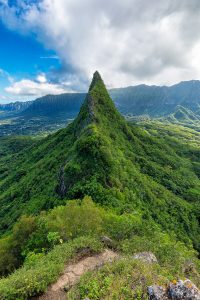
If you found that the first summit was pushing your comfort level, turn around now. The rest of the hike is just as hard or harder. As far as views go, the view from the top of the second peak was my favorite, but I really liked the look of the shark fin. Most people like the view from the first peak the best.
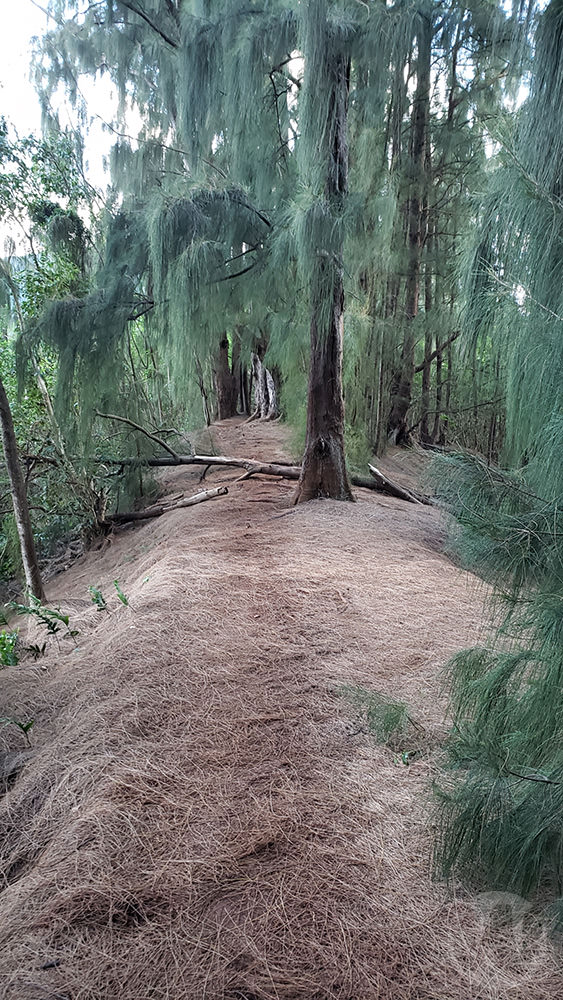
If you want to go all the way, follow the obvious trail onward. The trail down from the first summit is the easiest section of the rest of the hike. Take your time as you go down this section before starting the climb back up to the second peak. There is another rope that you will use to go up a steep section before hitting the top.
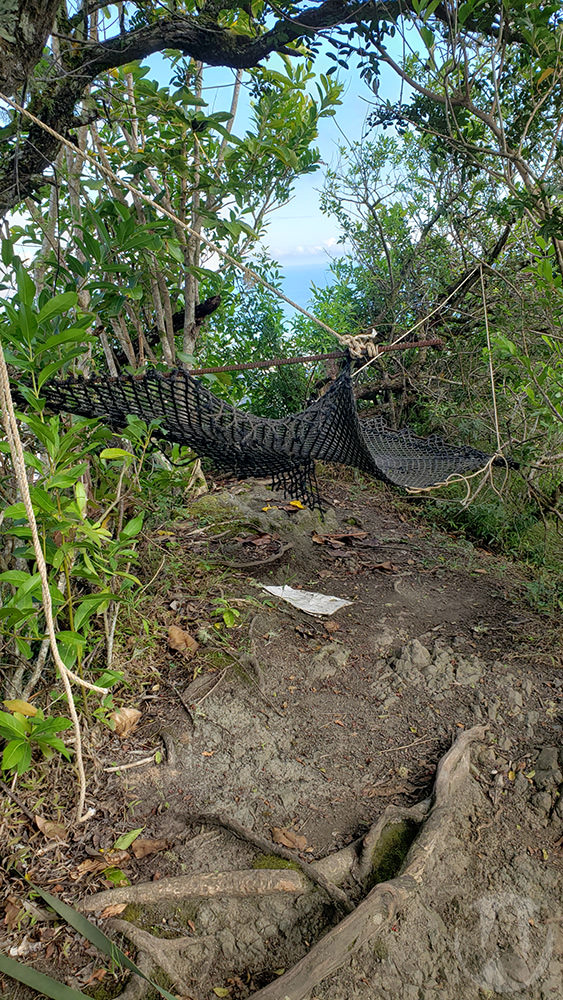
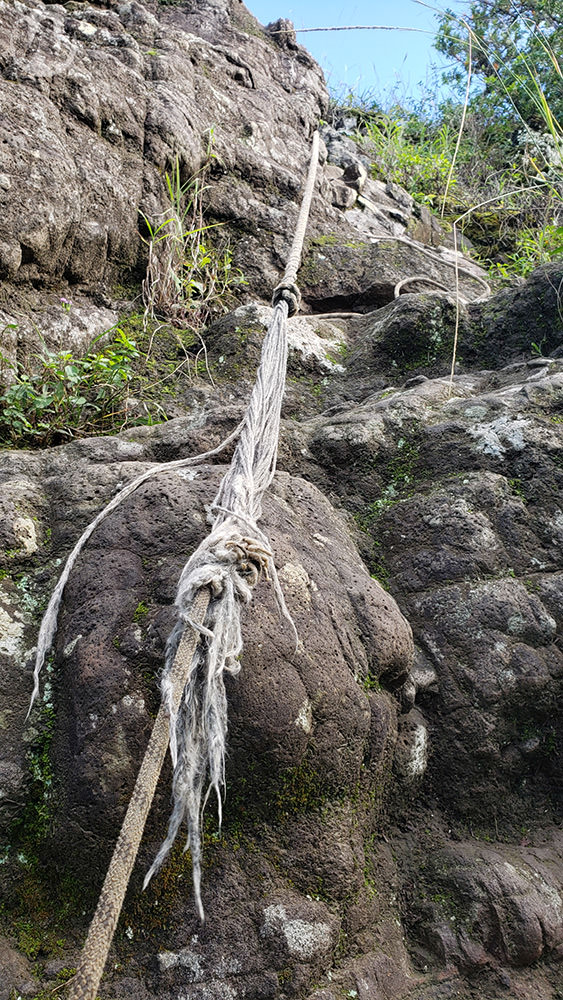
Right after the hammock you will climb a series of ropes pretty much straight down. This section is very steep, but the ropes make it reasonably easy. This should be obvious, but check the anchors and rope for any abrasions. You will be in a world of hurt if something breaks here. None of the ropes are maintained so using them is at your own risk. Check the equipment. Enough said.
Thankfully the trail is easy to follow. Once you finish the rope section, finish the climb down to the bottom before starting the most difficult part of the climb up to peak 3. This final climb has numerous steep drop-offs on both sides of the trail. Follow the ridge, but watch your footing. Falling here would be a long drop with a sudden stop.
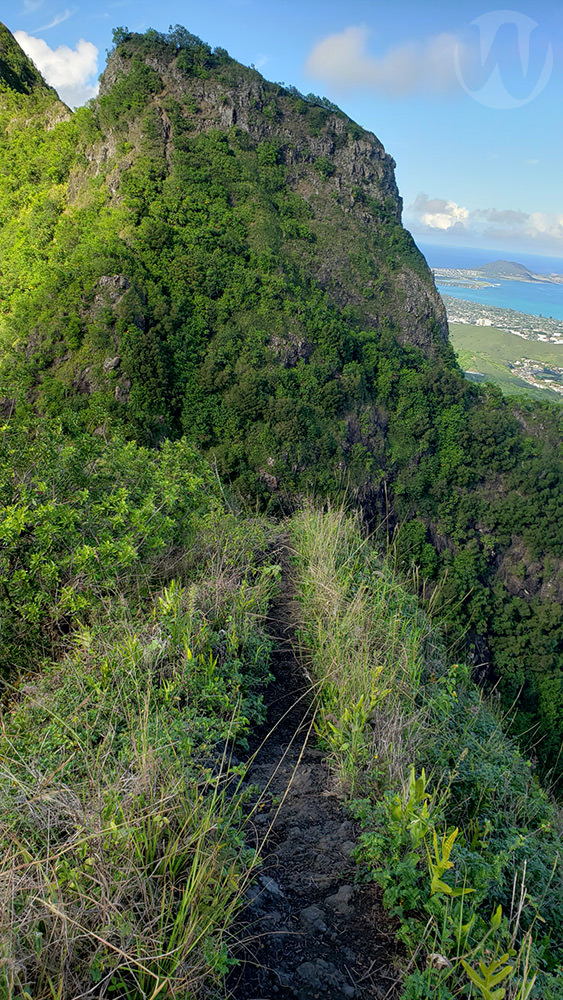
If you’re not comfortable with rock climbing or bouldering, this section will scare you.
The climbs in this section have the sketchiest looking ropes. Unfortunately, you have to trust them without being able to inspect them at their anchor. I used them as little as possible, but had to trust them at a couple points due to some slick areas on the rock and dirt. The rock has some really good hand and footholds so use them as much as possible. I wouldn’t suggest hanging from any of the ropes.
It hadn’t rained for a few days before I did this hike. I imagine that this trail would be extra dangerous if wet. If you reach a point that seems impassable, come back another day.
Once you’ve hit the 3rd peak the trail keeps going down the other side. I didn’t feel like seeing just how far, but I did take the ladder down a rock to see the view.

Once you’ve had enough, take the trail back the same way you came. Enjoy the different views in this direction and take your time and be safe.
So there you go. The Olomana Trail hike is one of my favorites just outside Honolulu, Hawaii. It will take you longer than you think. I spent almost 5 hours on this hike and I tend to be on the fast side. Granted, I did stop and take a lot of pictures so I could easily shave an hour off that time.

Leave a Reply